The Best Corned Beef Silverside Recipe: A Perfect 5-Step Guide to Tender Results
Table of Contents
Introduction
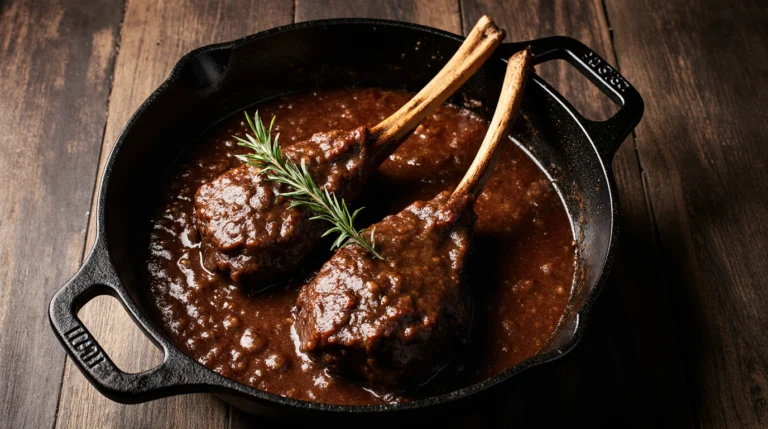
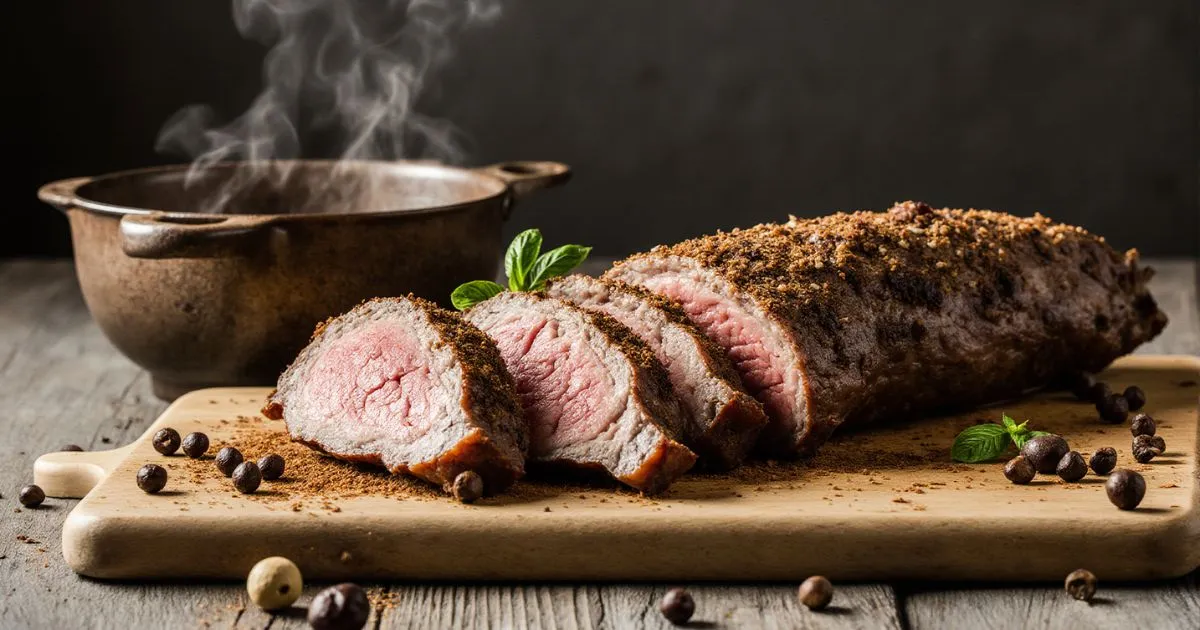
Is there any dish that evokes a sense of hearty, traditional comfort quite like a beautifully cooked piece of corned beef? That distinctive pink color, the melt-in-your-mouth texture, and the uniquely spiced, savory flavor make it a beloved centerpiece for family dinners and holiday feasts alike. This comprehensive guide is your ultimate resource for mastering the art of preparing the perfect Corned Beef Silverside. We will demystify the process entirely, answering fundamental questions like what is corned beef and providing a flawless, step-by-step method for cooking it.
But we’re going beyond just boiling a pre-packaged piece of meat. This guide will also empower you with a traditional corned beef seasoning recipe, teaching you how to corn beef at home from scratch. This deeper understanding transforms the dish from a simple meal into a rewarding culinary project. Whether you’re following this Corned Beef Silverside Recipe or applying the techniques to learn how to make corned beef brisket, the principles of low, slow, gentle cooking remain the same. By the end of this post, you will not only be able to cook a flawless silverside but will also possess the knowledge to create your own corned beef, controlling every aspect of the flavor and quality.
What is Corned Beef? Unpacking the History and Science
Before we dive into the cooking process, it’s essential to understand exactly what is corned beef and where it comes from. The term often causes confusion, as there is no corn involved.
The Historical Origins
The name “corned” beef has nothing to do with the vegetable. In Old English, the word “corn” referred to any small, hard particle or grain. In this context, “corn” describes the large grains of rock salt that were historically used to cure the meat. This method of salt-curing was a crucial form of preservation before the advent of refrigeration. The practice is particularly associated with Irish culinary history, where beef was preserved in this manner to last through the winter. Understanding this history is the first step in learning how to corn beef authentically.
The “Corned” Process Explained
At its core, understanding what is corned beef comes down to the curing process. The meat—typically a lean cut like silverside or a fattier cut like brisket—is submerged in a brine solution (pickling liquid) for several days. This brine is what gives the meat its characteristic flavor, color, and texture.
- The Brine: The brine is a mixture of water, a very high concentration of salt, and various spices like peppercorns, bay leaves, and mustard seeds. This is the foundation of any corned beef seasoning recipe.
- The Curing Reaction: The salt in the brine performs two critical functions through the process of osmosis. First, it draws moisture out of the meat, which inhibits the growth of bacteria that cause spoilage. Second, the salt and seasonings then diffuse back into the meat, seasoning it all the way through and giving it that signature salty, spiced flavor.
- The Pink Color: The vibrant pink color associated with commercial corned beef isn’t just from the spices; it’s often the result of adding sodium nitrite (pink curing salt or Prague powder #1) to the brine. This curing salt reacts with the myoglobin in the meat, stabilizing its color and giving it that classic pink hue, while also acting as a preservative. When learning how to season corned beef at home, you can choose to use curing salt for the traditional color or omit it for a more natural, gray-brown result that is equally delicious.
Silverside vs. Brisket: Choosing the Right Cut for Your Corned Beef Silverside Recipe
A common point of confusion is the difference between the cuts of meat used. Understanding this is crucial whether you’re buying a pre-corned piece or starting from scratch to learn how to make corned beef brisket or silverside.
| Feature | Silverside | Brisket |
|---|---|---|
| Location on Cow | Outer hind leg, above the thigh. | Lower breast, beneath the first five ribs. |
| Fat Content | Very lean, with a layer of external fat but little marbling. | Well-marbled with internal fat and a thick external fat cap. |
| Texture when Cooked | Firmer, denser, and more sliceable. | More tender, succulent, and can be easily shredded. |
| Best For | Neat, uniform slices. Traditional UK/Irish style. | Fall-apart tenderness. Traditional American-style Reuben sandwiches. |
For this specific Corned Beef Silverside Recipe, we are using the silverside cut. Its leanness makes it excellent for slicing, and it absorbs the brining flavors beautifully. The techniques for how to season corned beef are similar for both cuts, but the cooking time may vary slightly due to the difference in fat and connective tissue. If you’re wondering how to make corned beef brisket, you can follow this same guide, simply extending the cooking time by 30-60 minutes to fully break down its extra connective tissue.
Your Ultimate Shopping List for the Perfect Corned Beef Silverside
The quality of your final dish depends on starting with the right ingredients. Here is your comprehensive guide.
For the Homemade Brine (If Corning Your Own Beef)
This is your master corned beef seasoning recipe. Corning your own beef is a rewarding process that gives you complete control over the saltiness and spice profile.
| Ingredient | Quantity & Specification | Why It’s Important |
|---|---|---|
| Beef Silverside | 3-4 lbs (1.3-1.8 kg) | The star of the show. Look for a well-trimmed but intact piece. |
| Water | 2 Liters (8 cups) | The base of the brine. |
| Kosher Salt | 1.5 cups | The essential curing agent. Do not use iodized table salt. |
| Brown Sugar | 1/2 cup | Balances the salinity with a subtle sweetness and aids in browning. |
| Pink Curing Salt #1 (Optional) | 1 tsp | For the traditional pink color and a slightly tangy, preserved flavor. |
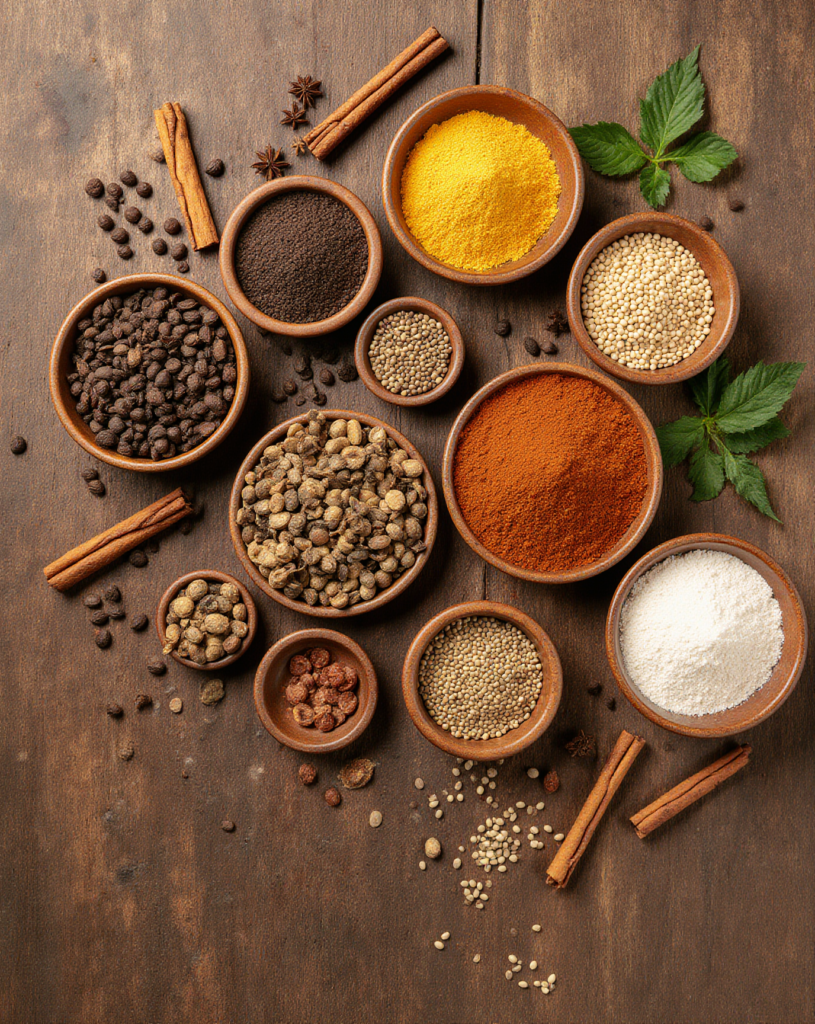
| Spices for Brine | 2 tbsp black peppercorns, 2 tbsp mustard seeds, 1 tbsp coriander seeds, 8 whole allspice berries, 6 whole cloves, 4 bay leaves (crumbled), 2 cinnamon sticks (broken) | This spice blend is the soul of the dish, infusing the meat with deep, aromatic flavor. |
For the Cooking Process
| Ingredient | Quantity & Specification | Why It’s Important |
|---|---|---|
| Pre-Corned Beef Silverside | 3-4 lbs (1.3-1.8 kg) | If using store-bought, it will likely come with a spice packet. |
| Aromatics | 1 large onion (quartered), 4 carrots (peeled and cut into chunks), 4 celery stalks (cut into chunks) | Creates a flavorful poaching liquid. |
| Garlic | 1 whole head, halved horizontally | Adds a sweet, pungent depth to the broth. |
| Additional Spices | The spice packet from the beef OR 1 tbsp of the homemade spice mix from above. | Reinforces the spiced flavor during cooking. |
Essential Equipment
- A pot large enough to fully submerge the beef in brine or water (a stockpot is ideal).
- A plate or glass pie weight to keep the meat submerged in the brine.
- A sharp knife.
- Tongs.
- An instant-read thermometer (highly recommended for perfect results).
The 5-Step Master Corned Beef Silverside Recipe
Follow these steps meticulously for a tender, flavorful result every single time.
Step 1: The Brining Process (How to Corn Beef at Home)
Skip this step if you purchased a pre-corned silverside.
- Make the Brine: In your large stockpot, combine the water, kosher salt, brown sugar, and all the spices from your corned beef seasoning recipe. If using pink curing salt, add it now. Heat the mixture over medium heat, stirring until the salt and sugar are completely dissolved. This is called a “pickle.” Do not let it boil. Once dissolved, remove from heat and allow the brine to cool completely to room temperature. You can speed this up by adding a few cups of ice water, but ensure the brine is cold before proceeding.
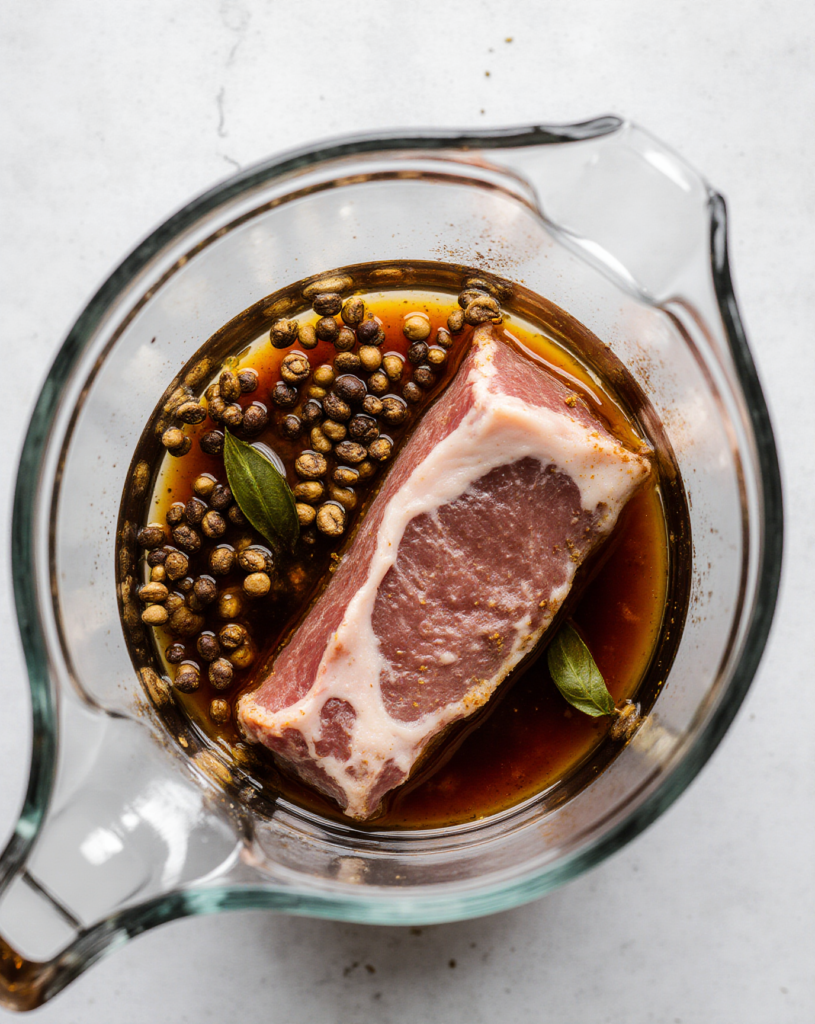
- Submerge the Beef: Place your raw beef silverside in a non-reactive container (like a food-safe plastic container or glass dish). Pour the completely cooled brine over the meat, ensuring it is fully submerged.
- Weigh it Down & Brine: Place a plate or a dedicated fermenting weight on top of the meat to keep it under the surface of the brine. Cover the container and refrigerate for 5-7 days. This is the essential waiting period when you are learning how to corn beef. Flip the meat once a day to ensure even curing.
Step 2: The Rinse and Soak
This step is crucial for controlling the saltiness of your final dish, whether you corned the beef yourself or bought it pre-packaged.
- Remove the Corned Beef Silverside from the brine (or its packaging). Discard the brine.
- Rinse the meat thoroughly under cold running water to remove any surface salt and spices.
- For a less salty result, place the rinsed meat back into the clean pot and cover it with fresh, cold water. Let it soak for at least 1 hour, or up to 8 hours in the refrigerator. This step is a pro-tip for anyone learning how to season corned beef to their taste, as it allows you to dial back the intensity.
Step 3: The Gentle Simmer
This is where the magic of transformation happens. The goal is low, slow heat to tenderize the meat without toughening it.
- Place in Pot: Place the rinsed (and optionally soaked) silverside into your large stockpot.
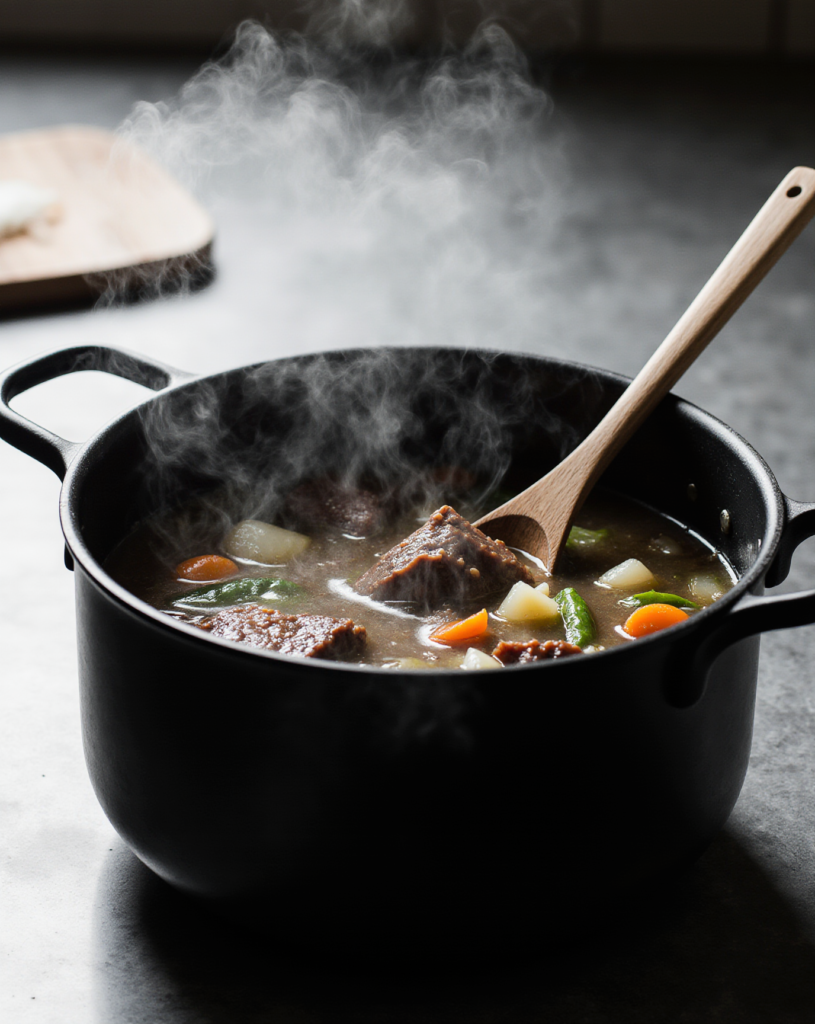
- Add Aromatics: Add the quartered onion, carrot chunks, celery chunks, and the halved head of garlic to the pot. If you have a spice packet or reserved spices, add them now.
- Cover with Water: Pour in enough cold, fresh water to cover the meat by at least one inch.
- Bring to a Simmer: Place the pot over high heat and bring to a boil. As soon as it reaches a boil, immediately reduce the heat to the lowest possible setting. You want to see tiny bubbles occasionally rising to the surface—a bare simmer. A rolling boil will make the meat tough and stringy.
- Skim: In the first 10-15 minutes of simmering, use a spoon to skim off any grayish foam that rises to the surface. This is just coagulated protein and will make the broth cloudy if left in.
Step 4: Low and Slow Cooking
- Cover and Cook: Partially cover the pot with a lid, leaving a small gap for some steam to escape. Let the Corned Beef Silverside simmer gently for approximately 3 to 3.5 hours. The exact time will depend on the size and thickness of your cut.
- Check for Doneness: The meat is done when it is fork-tender. To test this, insert a fork into the center of the meat and twist gently. The meat should offer little resistance and should easily pull apart. For absolute precision, an instant-read thermometer should read at least 190°F (88°C). This higher-than-usual temperature is necessary to break down the tough collagen into soft, succulent gelatin. This principle is the same when learning how to make corned beef brisket, though brisket may require more time.
Step 5: The Crucial Rest and Service
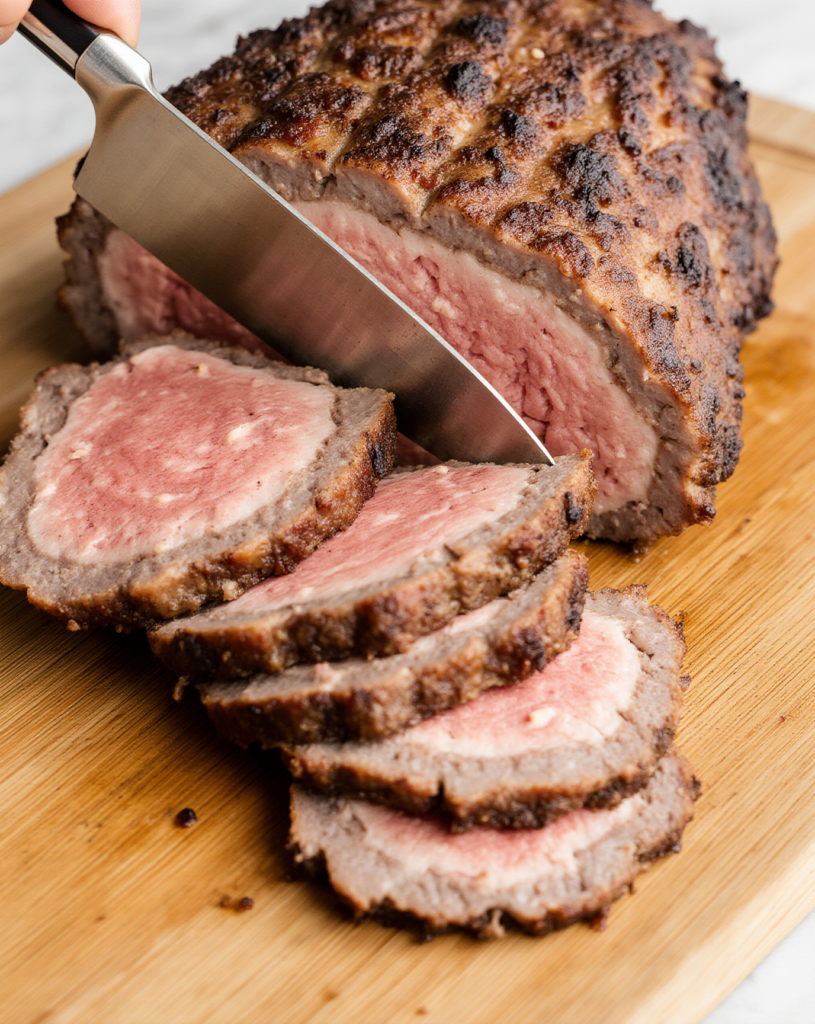
- Rest the Meat: Once cooked, turn off the heat. For the most tender and juicy results, let the Corned Beef Silverside rest in the hot cooking liquid for at least 20-30 minutes before removing it. This allows the muscle fibers to relax and reabsorb the juices.
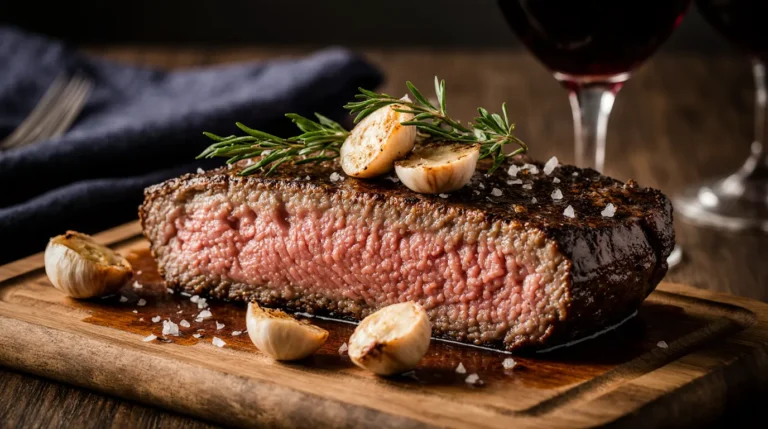
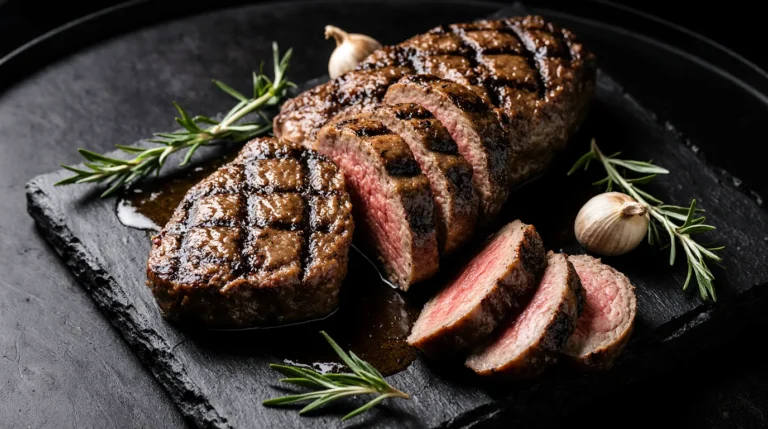
- Slice Against the Grain: Remove the meat from the pot and place it on a cutting board. Identify the direction of the muscle fibers (the “grain”). Using a sharp knife, slice the meat across the grain into thin slices. This severs the long muscle fibers, making each bite incredibly tender instead of chewy.
- Serve: Serve immediately with the cooked vegetables from the pot, boiled cabbage, potatoes, and a generous dollop of mustard or horseradish sauce.
Expert Tips and Troubleshooting for the Perfect Corned Beef Silverside
Even with a great recipe, questions arise. Here are answers to common pitfalls.
- My Meat is Tough and Chewy: This is almost always caused by cooking at too high a temperature. A rolling boil will cause the muscle proteins to contract violently and squeeze out all their moisture. The solution is always a bare, gentle simmer. It can also be undercooked; ensure it reaches that fork-tender stage.
- The Corned Beef is Too Salty: This is why the rinsing and optional soaking step (Step 2) is so important. If you’ve forgotten to do this and find the finished product too salty, you can slice it and soak the slices in warm water for 10-15 minutes to draw out some excess salt. Next time, don’t skip the soak!
- Can I Make it in a Slow Cooker or Pressure Cooker? Absolutely.
- Slow Cooker: After rinsing, place all ingredients in the slow cooker. Cover with water. Cook on LOW for 8-10 hours, or until fork-tender.
- Pressure Cooker/Instant Pot: This is a fantastic time-saver. Cook on high pressure for 70-90 minutes, followed by a natural pressure release for 15-20 minutes.
- What to Do with Leftovers? Leftover corned beef is a gift! It’s perfect for classic Reuben sandwiches, hash for breakfast, chopped into omelets, or added to soups and stews. For another great way to use leftover cooked meats, check out our guide to creating delicious meals with beef.

Understanding the Nutritional Profile of Corned Beef
Corned beef is a hearty, protein-rich food, but it’s important to be mindful of its nutritional content, particularly sodium.
- Protein Powerhouse: It is an excellent source of high-quality protein, essential for muscle repair and building.
- Vitamin B12 and Iron: As a red meat, it is rich in heme iron (which is easily absorbed by the body) and Vitamin B12, both crucial for healthy blood cells and energy levels.
- Sodium Content: This is the primary nutritional consideration. The corning process inherently involves a great deal of salt. According to the USDA FoodData Central, a 3-ounce serving can contain over 900 mg of sodium. The rinsing and soaking steps in this Corned Beef Silverside Recipe are designed to help mitigate this.
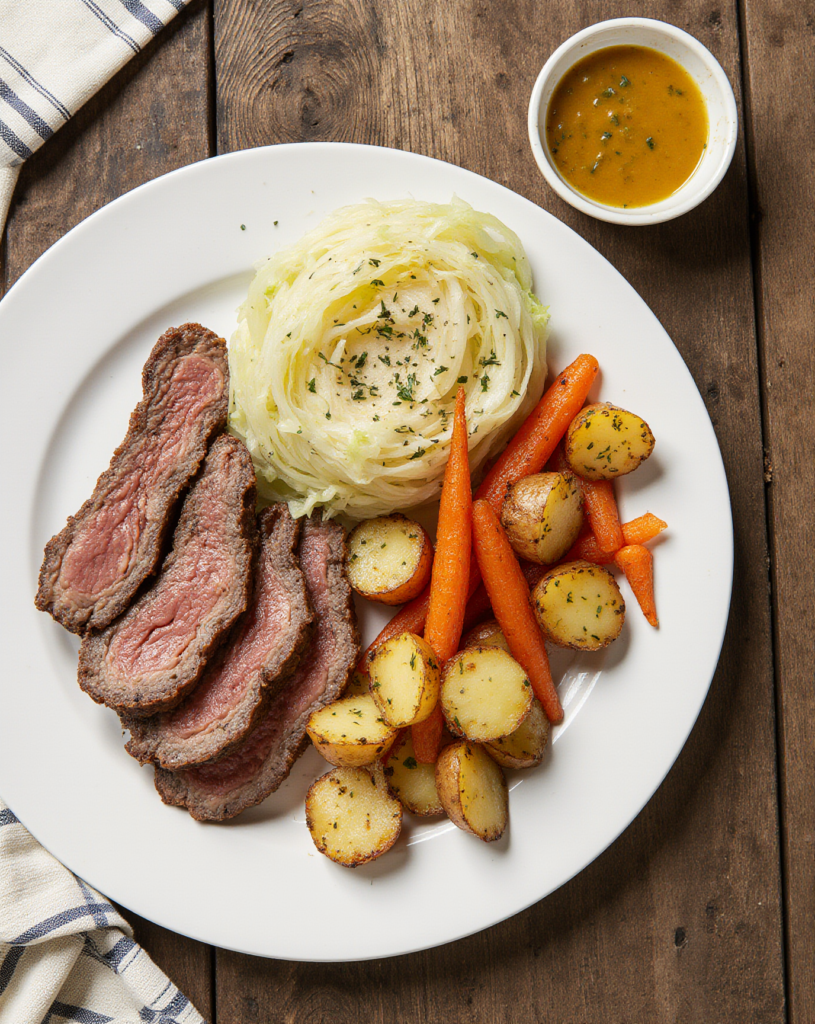
The Perfect Side Dishes for Your Corned Beef Silverside
A great Corned Beef Silverside Recipe is made even better by its traditional accompaniments.
- Boiled Cabbage: In the last 20-30 minutes of the meat’s cooking time, add wedges of green cabbage to the pot. They will cook perfectly in the flavorful broth.
- Buttered Potatoes: Small, waxy potatoes like baby potatoes or red potatoes can be boiled in the same pot for the last 30-40 minutes of cooking.
- Glazed Carrots and Parsnips: Roast carrots and parsnips with a little brown sugar and butter for a sweet and savory side.
- Mustard Sauce: A simple mix of whole grain mustard, a touch of honey, and some vinegar makes for the perfect tangy complement to the rich, salty meat.
Conclusion: Your New Go-To Comfort Food Classic
You have now journeyed through the complete process of creating the ultimate Corned Beef Silverside. From understanding the history and science of what is corned beef to mastering the gentle simmer that guarantees a tender result, you are equipped with the knowledge to perfect this classic dish. You even have the confidence and the corned beef seasoning recipe to explore how to corn beef at home, giving you full control from start to finish.
This Corned Beef Silverside Recipe is more than just a set of instructions; it’s a connection to a timeless culinary tradition. It’s a dish that rewards patience with incredible flavor and texture. So, whether it’s for a festive St. Patrick’s Day feast or a simple, satisfying Sunday dinner, you are now ready to create a memorable meal that will have everyone asking for seconds.
Have you ever tried corning your own beef? What are your favorite ways to serve corned beef? Share your tips and experiences in the comments below!